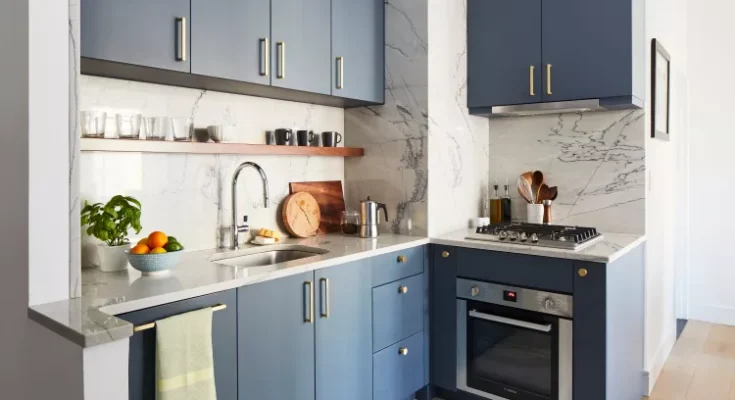
Add style with this simple tutorial for replacing hardware.
- Working Time: 30 minutes
- Total Time: 30 minutes
- Skill Level: Beginner
- Estimated Cost: $25 to $50
Want to refresh old furniture but don’t want to go through a lengthy refinishing process? Often, all you have to do to change the look of dated furniture and cabinetry is swap the hardware for a stylish alternative. Plus, you might be surprised at how easy it is. Learn how to replace hardware, plus tips and tricks for replacing knobs with pulls, and more.
What You’ll Need
Equipment / Tools
- Drill and drill bits
- Screwdriver (or appropriate tool)
- Measuring tape
- Pencil
- Putty knife (optional)
- Sandpaper (optional)
- Center punch (optional)
Materials
- Cabinet hardware jig (optional)
- Replacement cabinet hardware
- Wood filler (optional)
Instructions
How to Replace Hardware
Whether you’re sprucing up your kitchen cabinets or flipping furniture, take the time to choose hardware that’s stylish and functional, then use our tutorial for swapping knobs and pulls.
Remove Old Hardware
Open the door or drawer to reveal the fastener head that’s holding the hardware in place. Loosen and remove the fastener using the appropriate tool, holding the other side of the hardware with your hand as you loosen. After the fastener is out, pull the hardware off the front.
-
Address Old Screw Holes
If you plan on reusing the existing screw holes for your new hardware, you probably won’t have to do anything to them. However, if you plan to use hardware with a different mounting pattern, such as switch from knobs to pulls, you need to fill the existing holes.
-
Pick Your New Hardware
Choose new hardware according to your desired look. If you’re using the existing screw holes, measure the distance between the holes and use that as your guide when shopping for replacement hardware.
Measure and Mark New Holes
If you fill the holes left behind by old hardware, you’ll have to make new holes for the replacement hardware. While you can find the center point and measure out to each hole, the easiest way to do this is to use a cabinet hardware jig.
Cabinet hardware jigs vary slightly in design, so follow the manufacturer’s instructions for proper use.
Drill Pilot Holes
Once the new holes are accurately marked, drill them carefully.
Fill Unnecessary Holes
If working with wood or plywood, simply fill the screw holes with wood filler. Then sand it smooth after it dries. You can also fill holes in melamine cabinets with wood filler; after it is dry, sand and paint it.
-
Install New Hardware
Install the new hardware in the opposite order you removed the old hardware, using the appropriate tool to tighten the fasteners.
Tips for Replacing Cabinet and Furniture Hardware
To ensure the success of your restoration project, check out these tips and tricks for replacing cabinet and furniture hardware.
- Measure twice, drill once. Take your time and get an accurate measurement before drilling, so you don’t end up with extra holes in your cabinet doors. After marking the holes, hold the hardware up to ensure it’s correctly placed.
- Use a center punch to keep your drill bit from wandering. A center punch marks precisely where you want the center of your drill bit to sit. While they aren’t always necessary, they ensure the drill bit doesn’t wander across the surface and improve the accuracy of the hole.
- Mock up your hardware. Before you go all in on the painstaking process of measuring, marking, and drilling new holes for cabinet hardware, tape a piece in place to make sure you like how it looks.
- Choose drawer hardware wisely. Not all drawer pulls are created equally. If the drawer is filled with heavy items or is a large drawer, don’t put a dainty knob on it. You’ll want to install a drawer pull that gives you a firm grasp and can handle the weight of the drawer.
- Use a laser level. If you’re replacing or installing hardware on a long line of cabinets and drawers, such as kitchen cabinetry, use a laser level to line up every piece of hardware perfectly. If installing hardware on furniture or a standalone cabinet, ensure the piece is sitting level before using a laser level to install hardware.
- Prevent tear-out when drilling. Tear-out occurs when the drill bit penetrates the material, splintering the back side. While it happens with wood and plywood, it’s especially problematic for melamine cabinets. To prevent tear-out, start with a small drill bit and work up to your desired bit size. You can also clamp a backer board behind the door or drawer to minimize tear-out.
-


